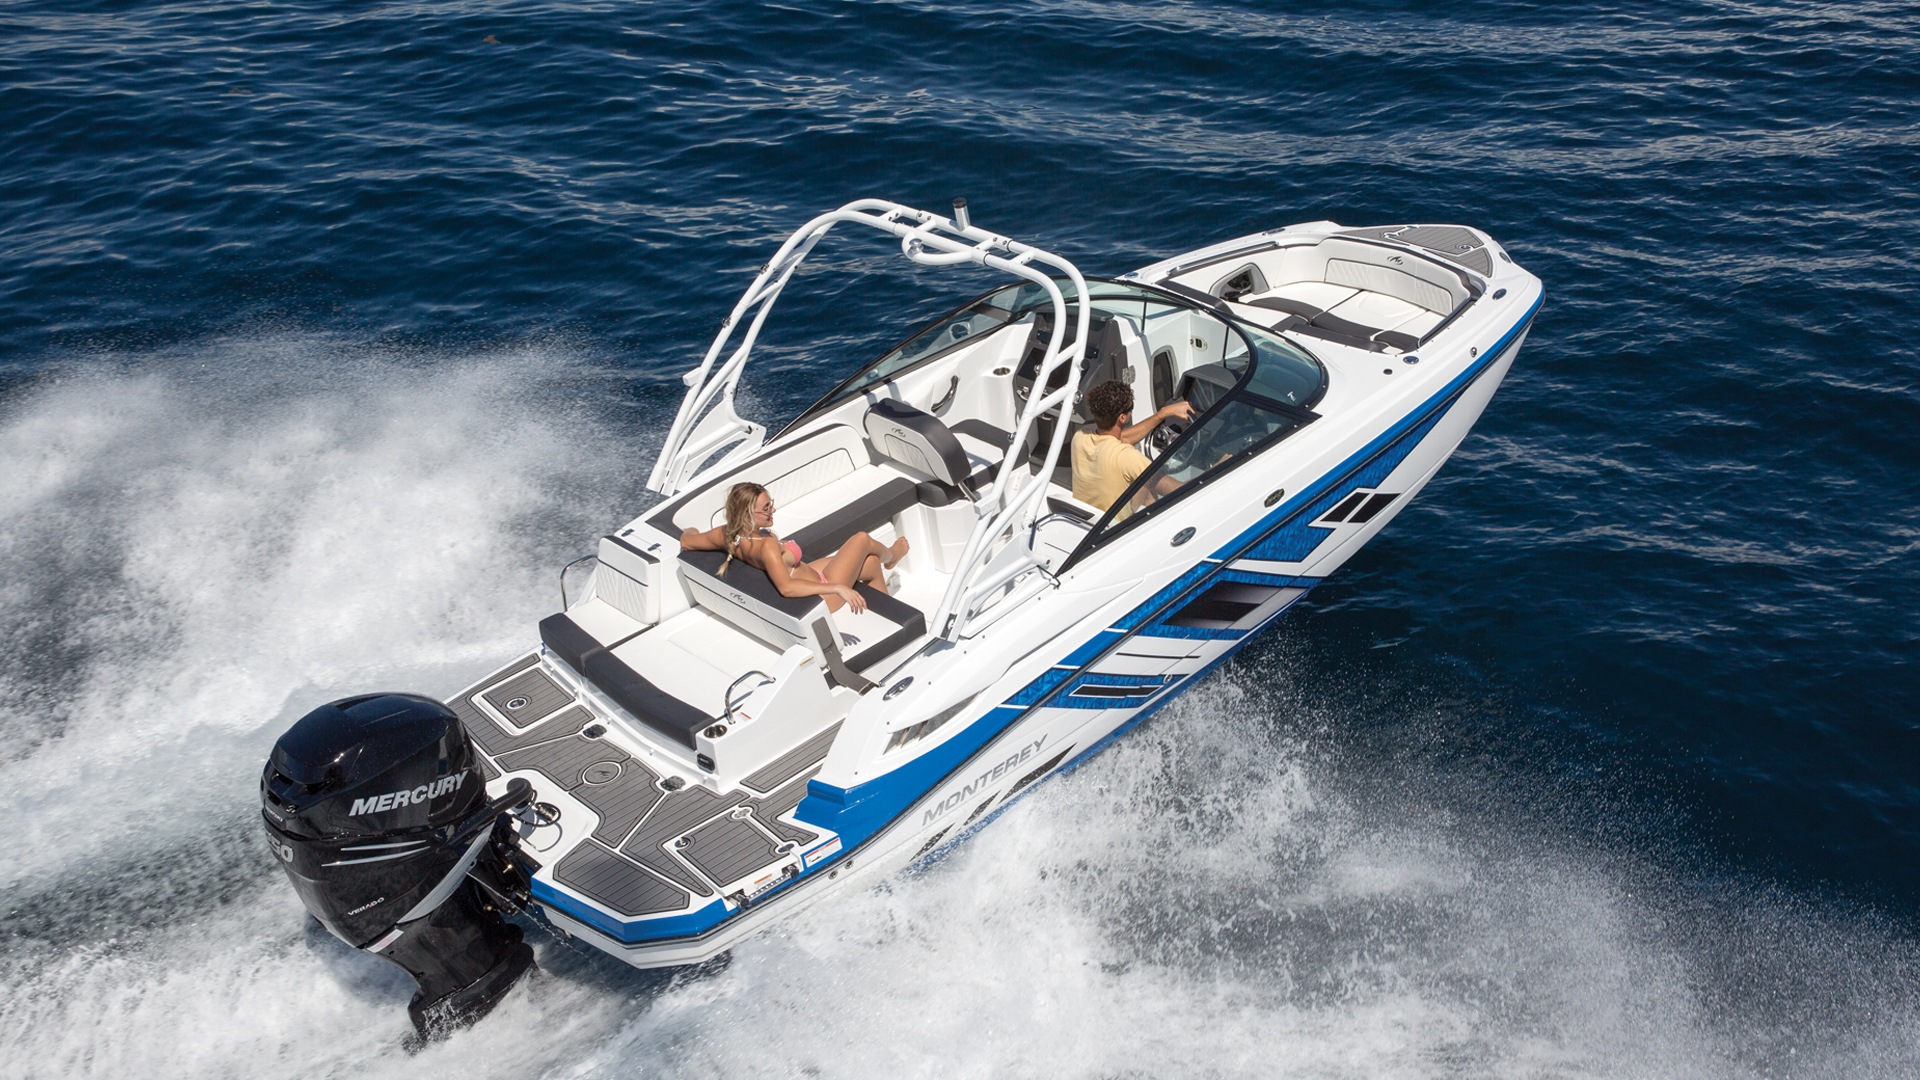
Installing a Swim Platform

Nothing is more satisfying than jumping into a cool lake when the sun is sweltering. Boating season means a lot of swimming, but this can become tricky if you don’t have a swim platform. Trying to get back into the boat can be a dangerous challenge. We have created this list to help you successfully install a swim platform on your boat so you can enjoy an easy, care-free swim with your family! If you need any parts and service or have questions, come visit Water Werks Marine Group in Country Club Hills, Illinois, serving the areas of Chicago and Waukegan.
Step One
Before you begin the installation, make sure you remove any hardware that could get in your way. You want to get the most precise measurements you can, so you don’t want to guess where the platform and screws will sit.
Step Two
The first thing you want to do before making holes and screwing in screws is to pre-fit your platform. With some help, hold the platform in the spot you want to install it. Make sure it is completely centered by measuring both sides. Use painters tape to set markers for where the brackets will be installed. These brackets are not pre-installed on your swim platforms because they need to be fitted flush on the hull of your boat. You can now set down the platform.
Step Three
Grab the brackets and hold them up to the spots you marked with the painters tape. Use a pencil to mark where the holes on the bracket lie on the hull. It is important to keep them even, so make sure to do more measuring from the sides, top, and bottom to ensure an even level.
Step Four
Before you start drilling the holes, it’s a good idea to double check inside of your boat. You want to make sure everything inside is completely out of the way. Pre-drill small holes where the brackets are going to sit. Then drill the properly sized holes for your mounting bolts.
Step Five
After you have all of your holes drilled you will want to thoroughly clean the area with a wash and a dewaxer. This will ensure a stronger bond between your boat and the sealer.
Step Six
Apply sealer to the bolt and around its corresponding hole. Don’t be afraid to be pretty generous with the sealer. When you place the bracket and bolt to the hole, you will be able to wipe off excess sealer later on.
Step Seven
Place a bolt and washer through the top hole on your bracket and attach it to the boat. Have your helper thread the nut on the other side of the bolt and hold it. Use a wrench to tighten the bolt, but make sure not to overdo it! If you find it’s too tight, simply re-drill.
Step Eight
For the bottom portion of the bracket, place something that hangs off the back of your boat horizontally to use this as a reference point. Measure the space between the bracket and the object at various point to make sure it is level. Once level, mark where the bottom bolt should be before drilling the hole. After you finish installing the outside brackets, you can use them as reference points for the middle ones!
Step Nine
Once the brackets are complete use clamps to clamp the swim platform to the brackets. Drill holes in the brackets through the bottom of the platform for the mounting bolts. Tap in the bolts from the top and unclamp!
You can ensure a more enjoyable time swimming on your boat by installing a swim platform. If you need help or supplies for this task, come the Water Werks Marine Group location in Country Club Hills, Illinois. We proudly serve the areas of Gary, Michigan City, Indiana, and Milwaukee, Wisconsin.
